DocsThe builder
Add and arrange elements
Add elements from the library, place them by dragging on the canvas or in Layers, and move, wrap, hide, lock and rename them.
Open the element library#
Click + at the top of the left column. The library has three tabs: Elements, Loops (ready-made Query Loops and the ones saved on this site) and Forms (form templates). Elements are grouped by category — Layout, Basic, Typography, Media and so on — and the search box finds any of them by name or purpose. Your site’s Global blocks and Saved components are listed there too.
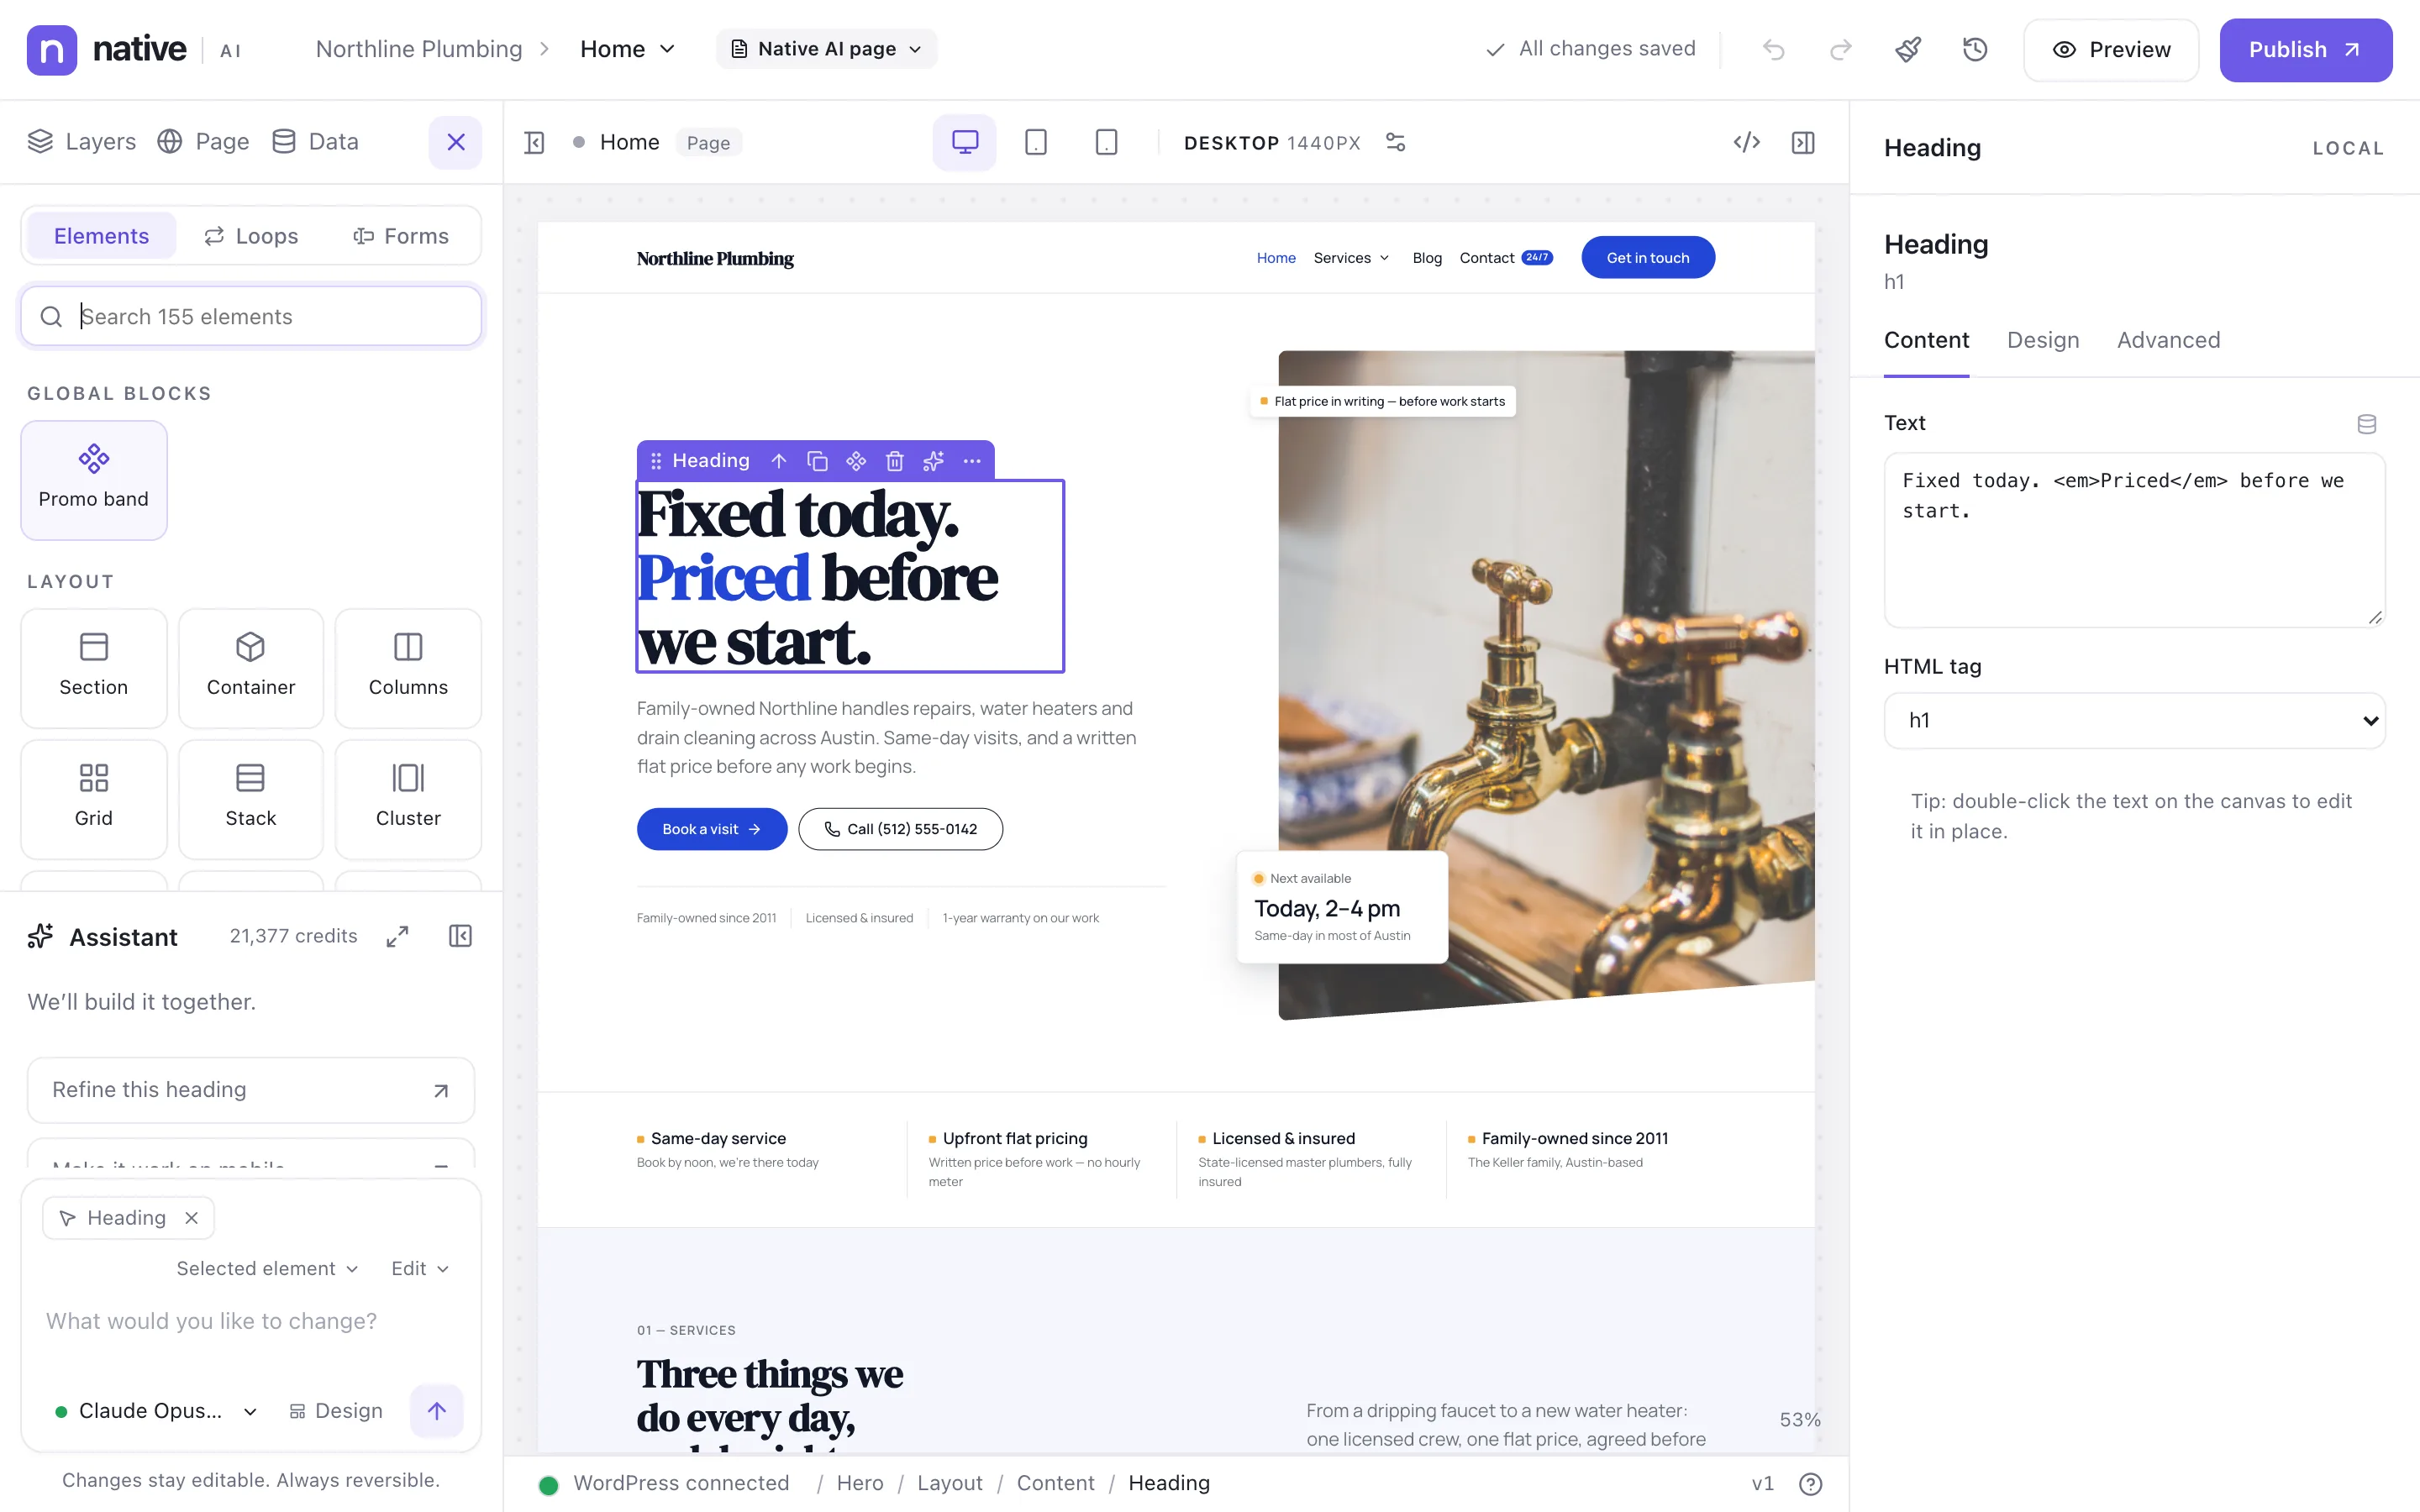
Some elements come as ready-made layouts: under Layout you’ll find Container, Columns, Grid, Stack, Cluster, Card and Link Block as well as Section. Every element is listed in the Element reference.
Place an element#
- Drag it onto the canvas. An insertion line shows where it will land and the container it goes into is highlighted; the canvas scrolls when you drag near its edge. If an element can’t go somewhere — a form field outside a form, for example — the builder says why.
- Click it to add it next to your selection: inside the selected element when that’s a container, otherwise right after it. A Section always goes at the top level, after the section you’re in.
- Drag it into the Layers tree to put it exactly before, after or inside another element.
The Layers panel#
Layers shows the page as a tree — the same tree the builder calls the Structure panel. Selecting in Layers selects on the canvas and the other way round; the canvas scrolls to the element and it flashes briefly.
- Drag rows to reorder or nest them.
- The buttons above the tree expand everything, collapse everything, and focus the selection. Alt-click an arrow to open or close a whole branch.
- Double-click a row, or press F2, to rename it. Names make big pages easier to read, and the AI sees them too.
- The ⋯ button on a row opens the same menu as right-clicking the element.
- Below the tree: move up, move down, duplicate and delete.
- Rows show a Sample badge when the AI wrote placeholder facts there (see Preview and publish).
Settings → Builder decides whether canvas selections reveal the row, whether other branches collapse, and whether rows show element icons, IDs and classes. See the Settings reference.
Select#
Click an element on the canvas, or its row in Layers. The status bar shows the path to it (Hero / Layout / Content / Heading); click any part of the path to select that parent. From the keyboard, ↑ and ↓ move to the previous and next element, ← to the parent and → to the first child. Esc deselects.
Move, wrap and duplicate#
- Drag on the canvas or in Layers, or press ⌥↑ / ⌥↓ to move among siblings.
- Wrap in container (⌥⌘G) puts the selection inside a new container — handy for grouping a heading and text.
- Duplicate (⌘D) copies the element with its styles and settings right after it.
- Bring forward and Send backward (⌘] / ⌘[) change the stacking order of overlapping elements.
Hide, lock and rename#
In the element’s Advanced tab:
- Hide this element everywhere, or Hide on chosen breakpoints only (⇧⌘H toggles hiding). Hidden elements stay dimmed on the canvas so you can still select them.
- Lock — a locked element can’t be moved, cut, wrapped or deleted, and the AI won’t change it (⇧⌘L).
- Name in Structure — the element’s name in Layers (F2).
Delete#
Press ⌫ or Delete. The next element is selected afterwards, so pressing Delete again doesn’t take the whole section with it. Deleting can always be undone with ⌘Z; turn on Confirm before deleting elements in Settings → Builder if you’d like a question first.
Related articles
On the features pages
Still have a question? Email us at support.